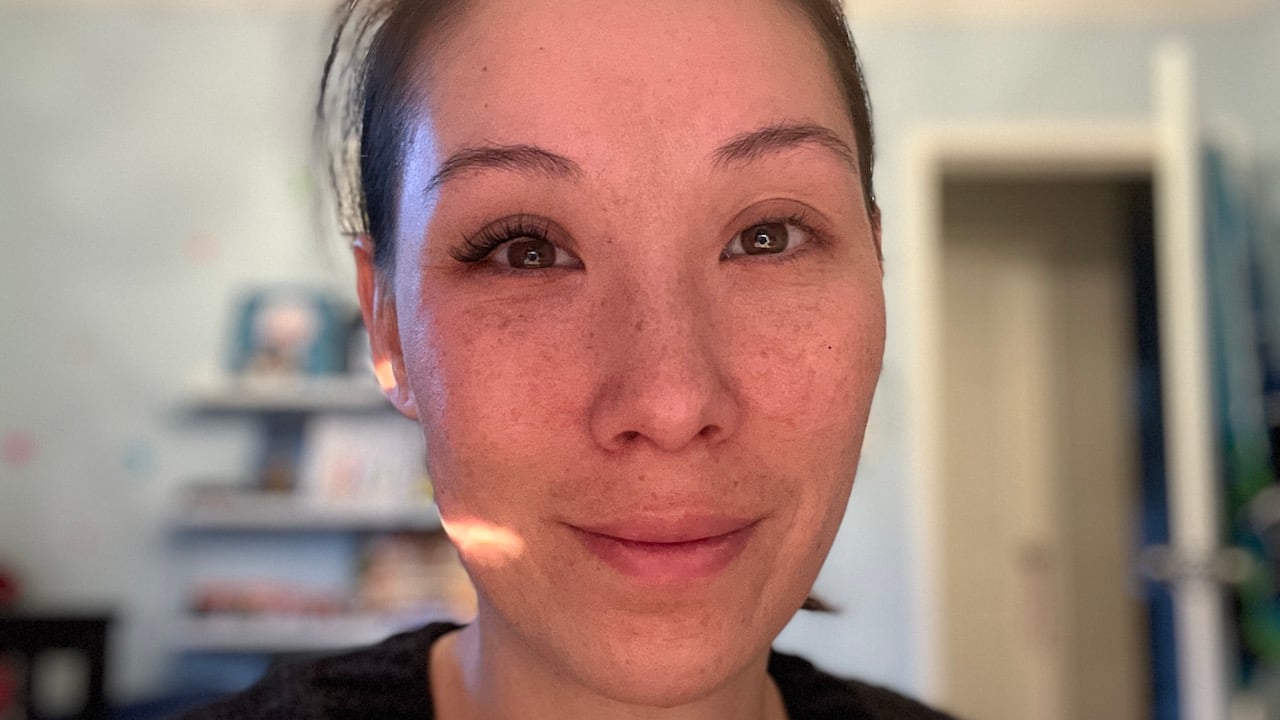
From the moment I put on my first watermelon-scented lip balm, I’ve loved wearing makeup. Starting in my teens and through my early thirties, I thoroughly enjoyed the relaxing process of putting it on as part of my morning routine. For me, it was also a quick and easy way to boost my confidence—I loved how I was able to emphasize my natural features.
Fast forward to having two kids, and as much as I would love to take 20 minutes in the morning to do my full makeup routine, those days are long gone. Most of the time I’m lucky if I can get on a coat of mascara. This led me to research one of the quickest ways to go makeup-free but still feel confident walking out the door: enhancing my lashes. Turns out there are a few ways to boost your natural lashes, and I tried out three of them. Here’s what I discovered.
Lash lift and tint review
My first lash enhancement was a lash lift and tint, the most natural of the three I tried. Think of it as a perm and dye for your lashes, keeping them in a semi-permanent curled position and darkened for extra impact.
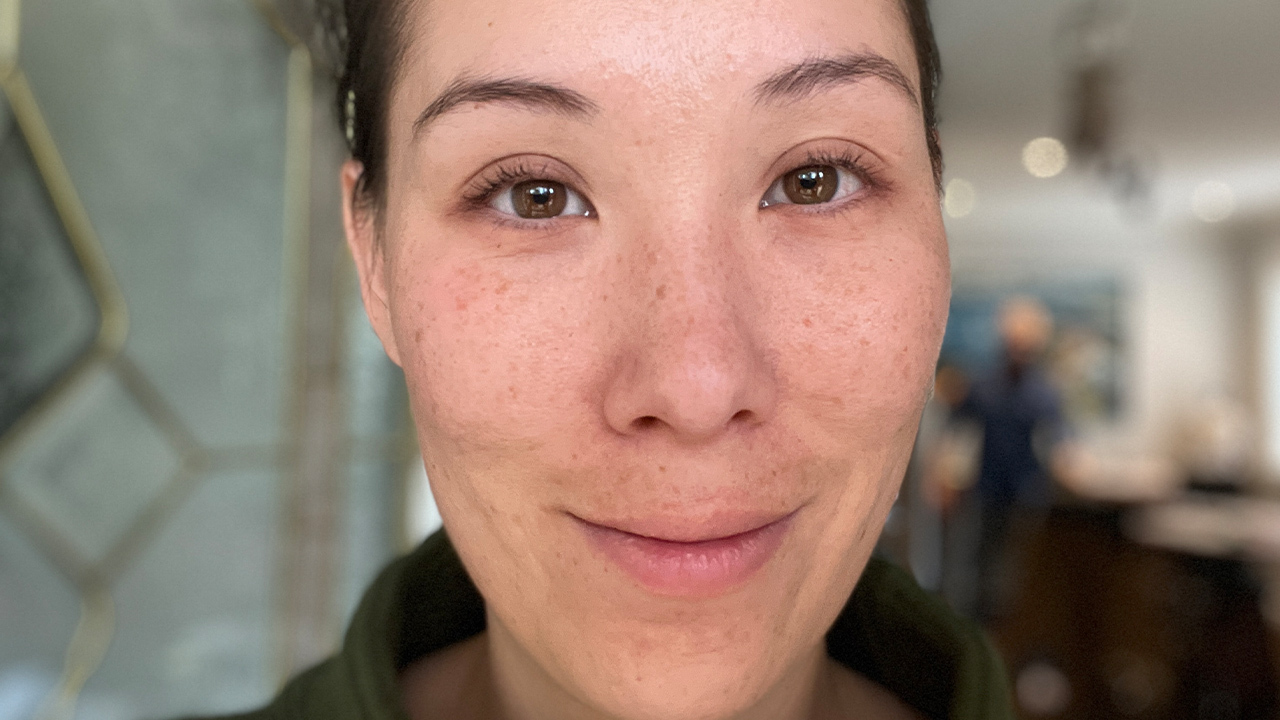
Before my lash lift and tint. Photo: Courtesy of Kathryn Ross
The process took about 45 to 60 minutes while I laid face-up on a padded table, similar to a massage table. You have to keep your eyes closed the entire time, which took some getting used to. For the first few minutes, I kept wanting to open my eyes to see what the lash technician was doing; however, I quickly got used to the feeling and, in true mom fashion, this actually ended up being the most relaxing part of my day.
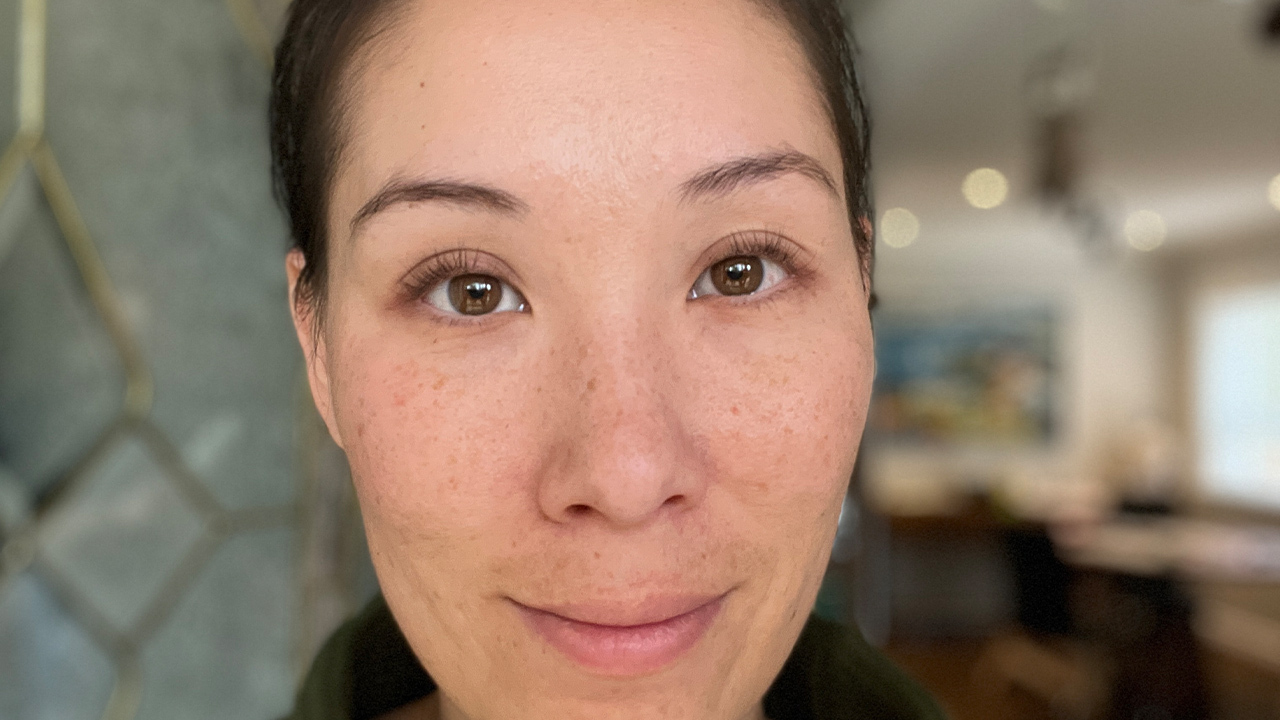
After my lash lift and tint. Photo: Courtesy of Kathryn Ross
My pro and con for this experience are the same, being that I found it very natural. While I did notice that it gave my eyes a nice lift, it definitely didn’t replace having on actual mascara. It did, however, make my mascara extra effective because each hair was perfectly curled. Since my dark-brown lashes didn’t require a tint, I can imagine this treatment would be more effective on fairer lashes. Prices generally range from $60 to $80 per session every 4 to 6 weeks.
Professional lash extensions review
I was quite hesitant about getting professional lash extensions—I worried that they would overpower my natural facial features. They also felt like a big commitment, as the lashes fall out with your regular lash cycle and require a refill every 3 to 4 weeks.
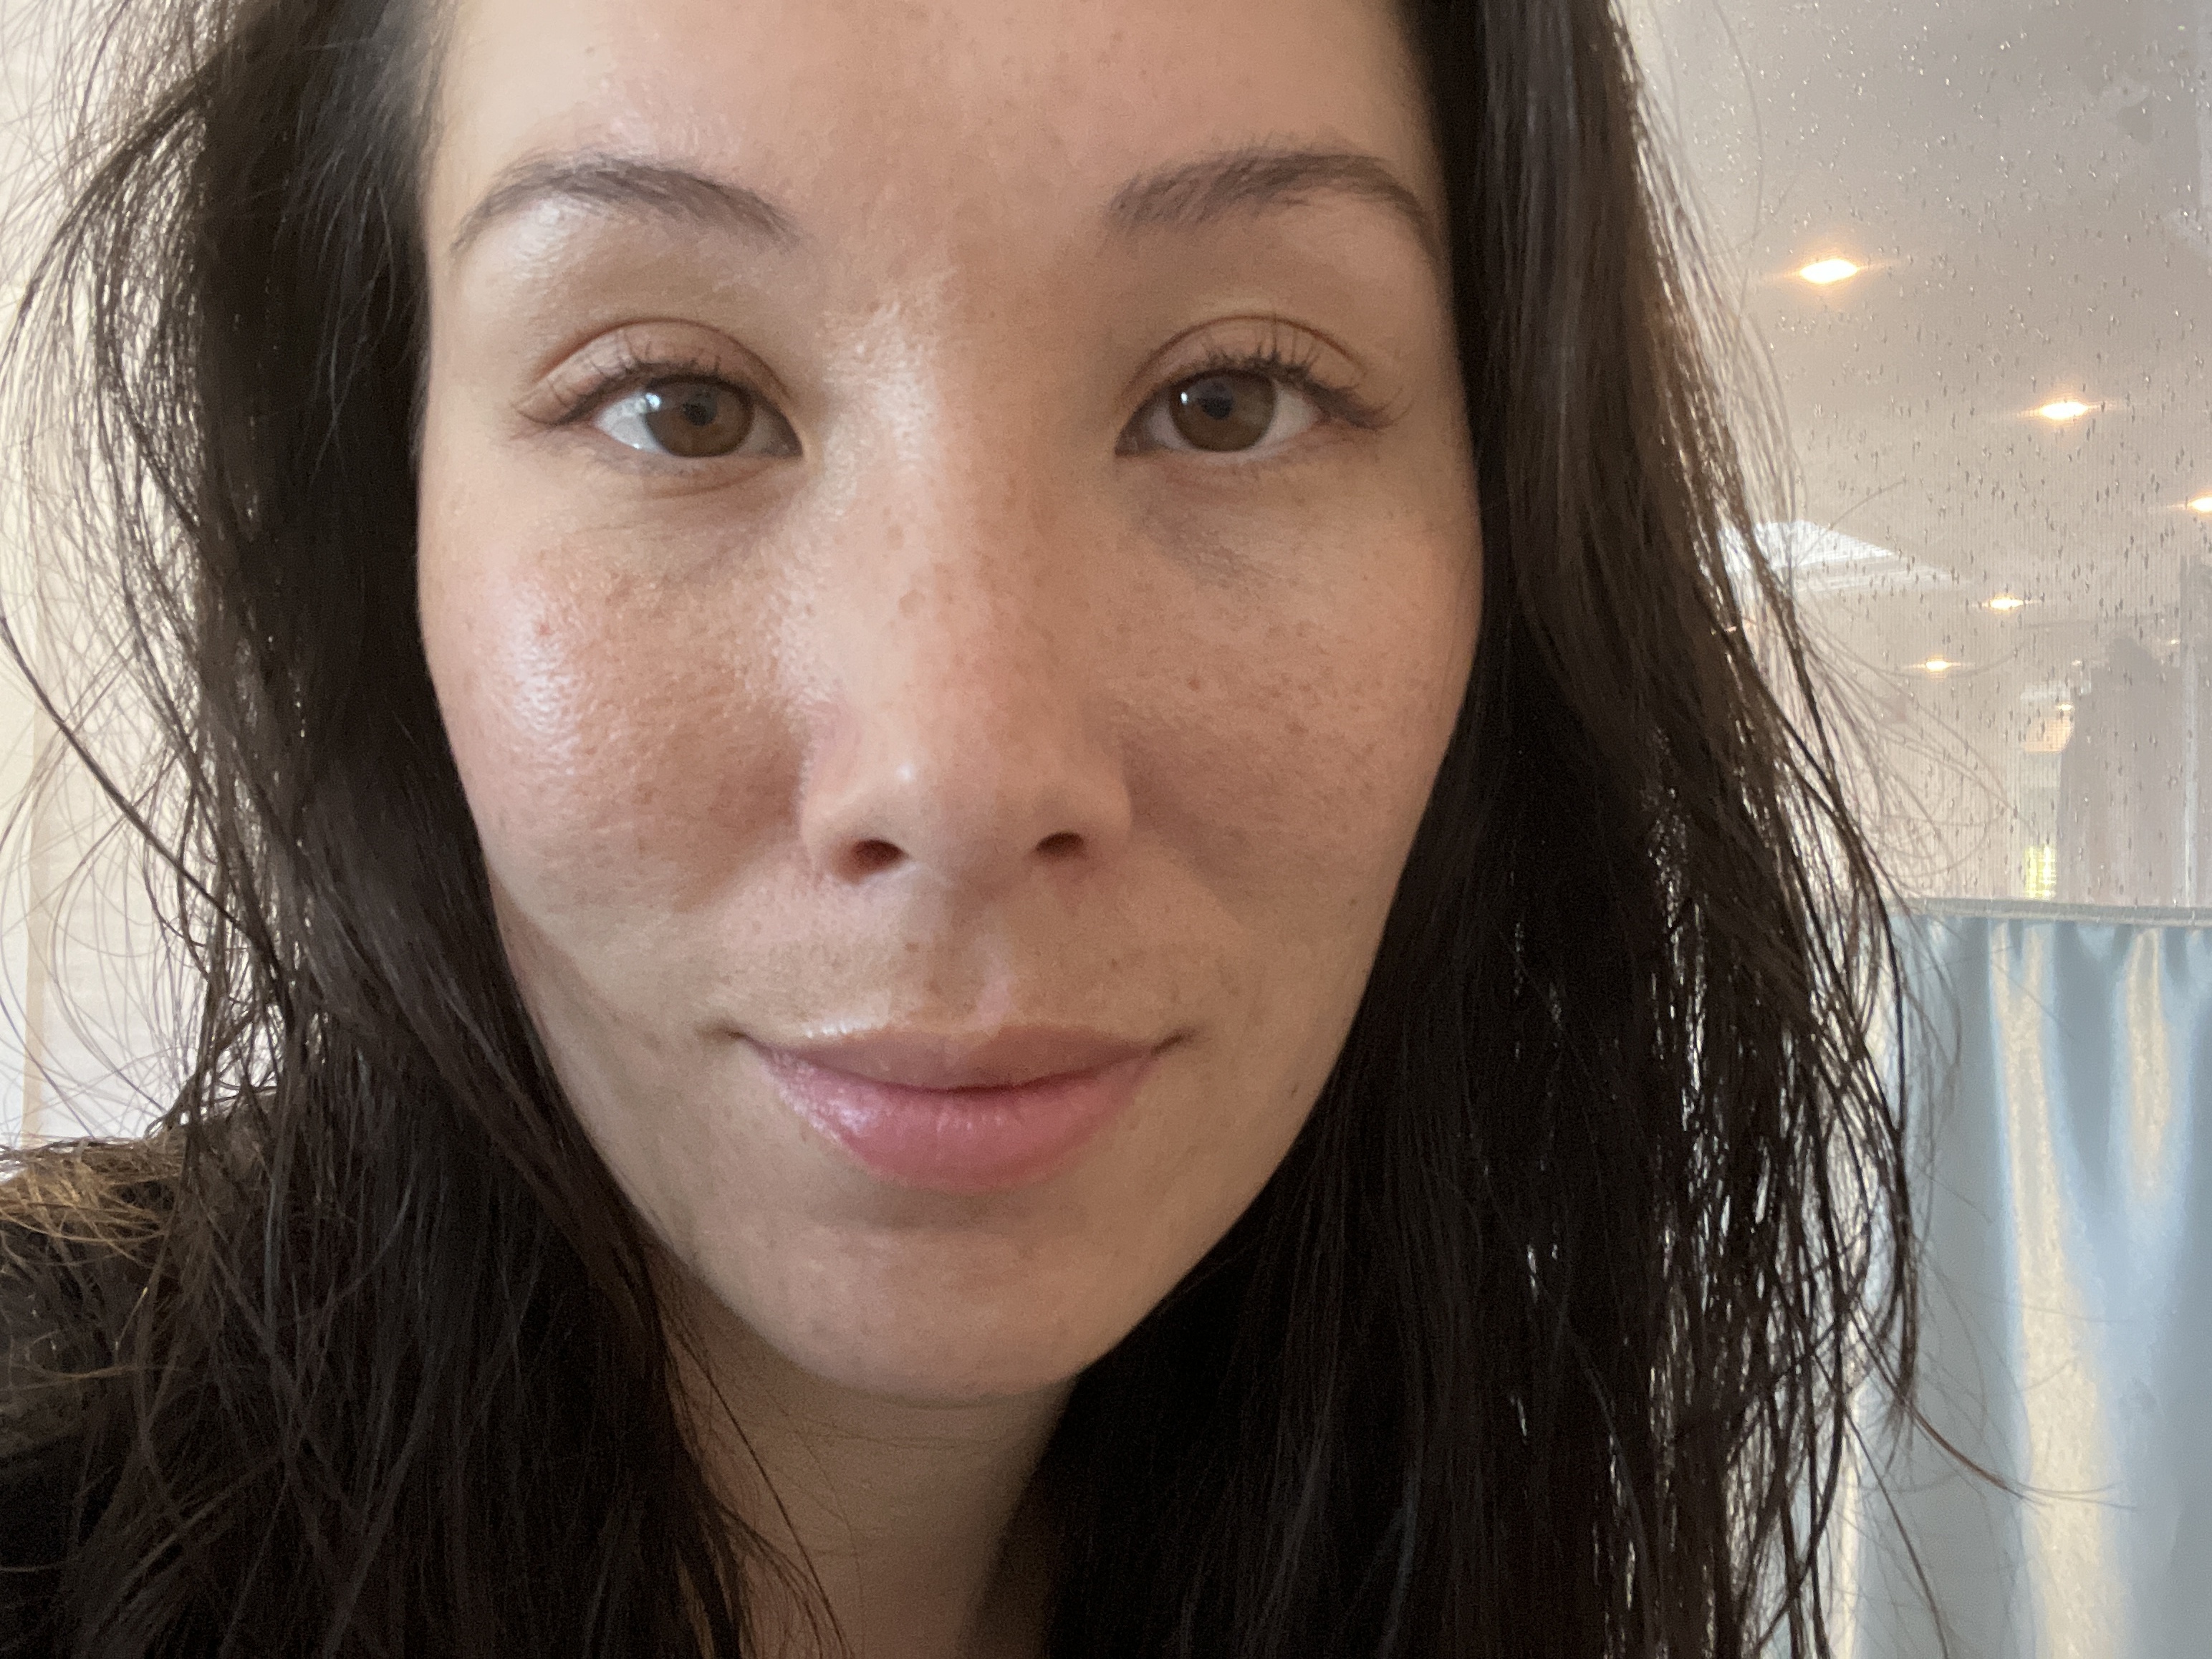
Before my lash extensions. Photo: Courtesy of Kathryn Ross
I was pleasantly surprised to find that lash extensions are far from one-size-fits-all. Lashes most often come in three options: natural, volume and hybrid (a mix of natural and volume). Depending on your chosen lash style and your technician’s speed, the process usually takes around an hour or two. Similar to the lash lift, you lie face-up on a comfortable table with your eyes closed the entire time. Since I was used to keeping my eyes closed from the lash lift, I was able to settle in and relax. For almost every follow-up refill, I ended up falling asleep.
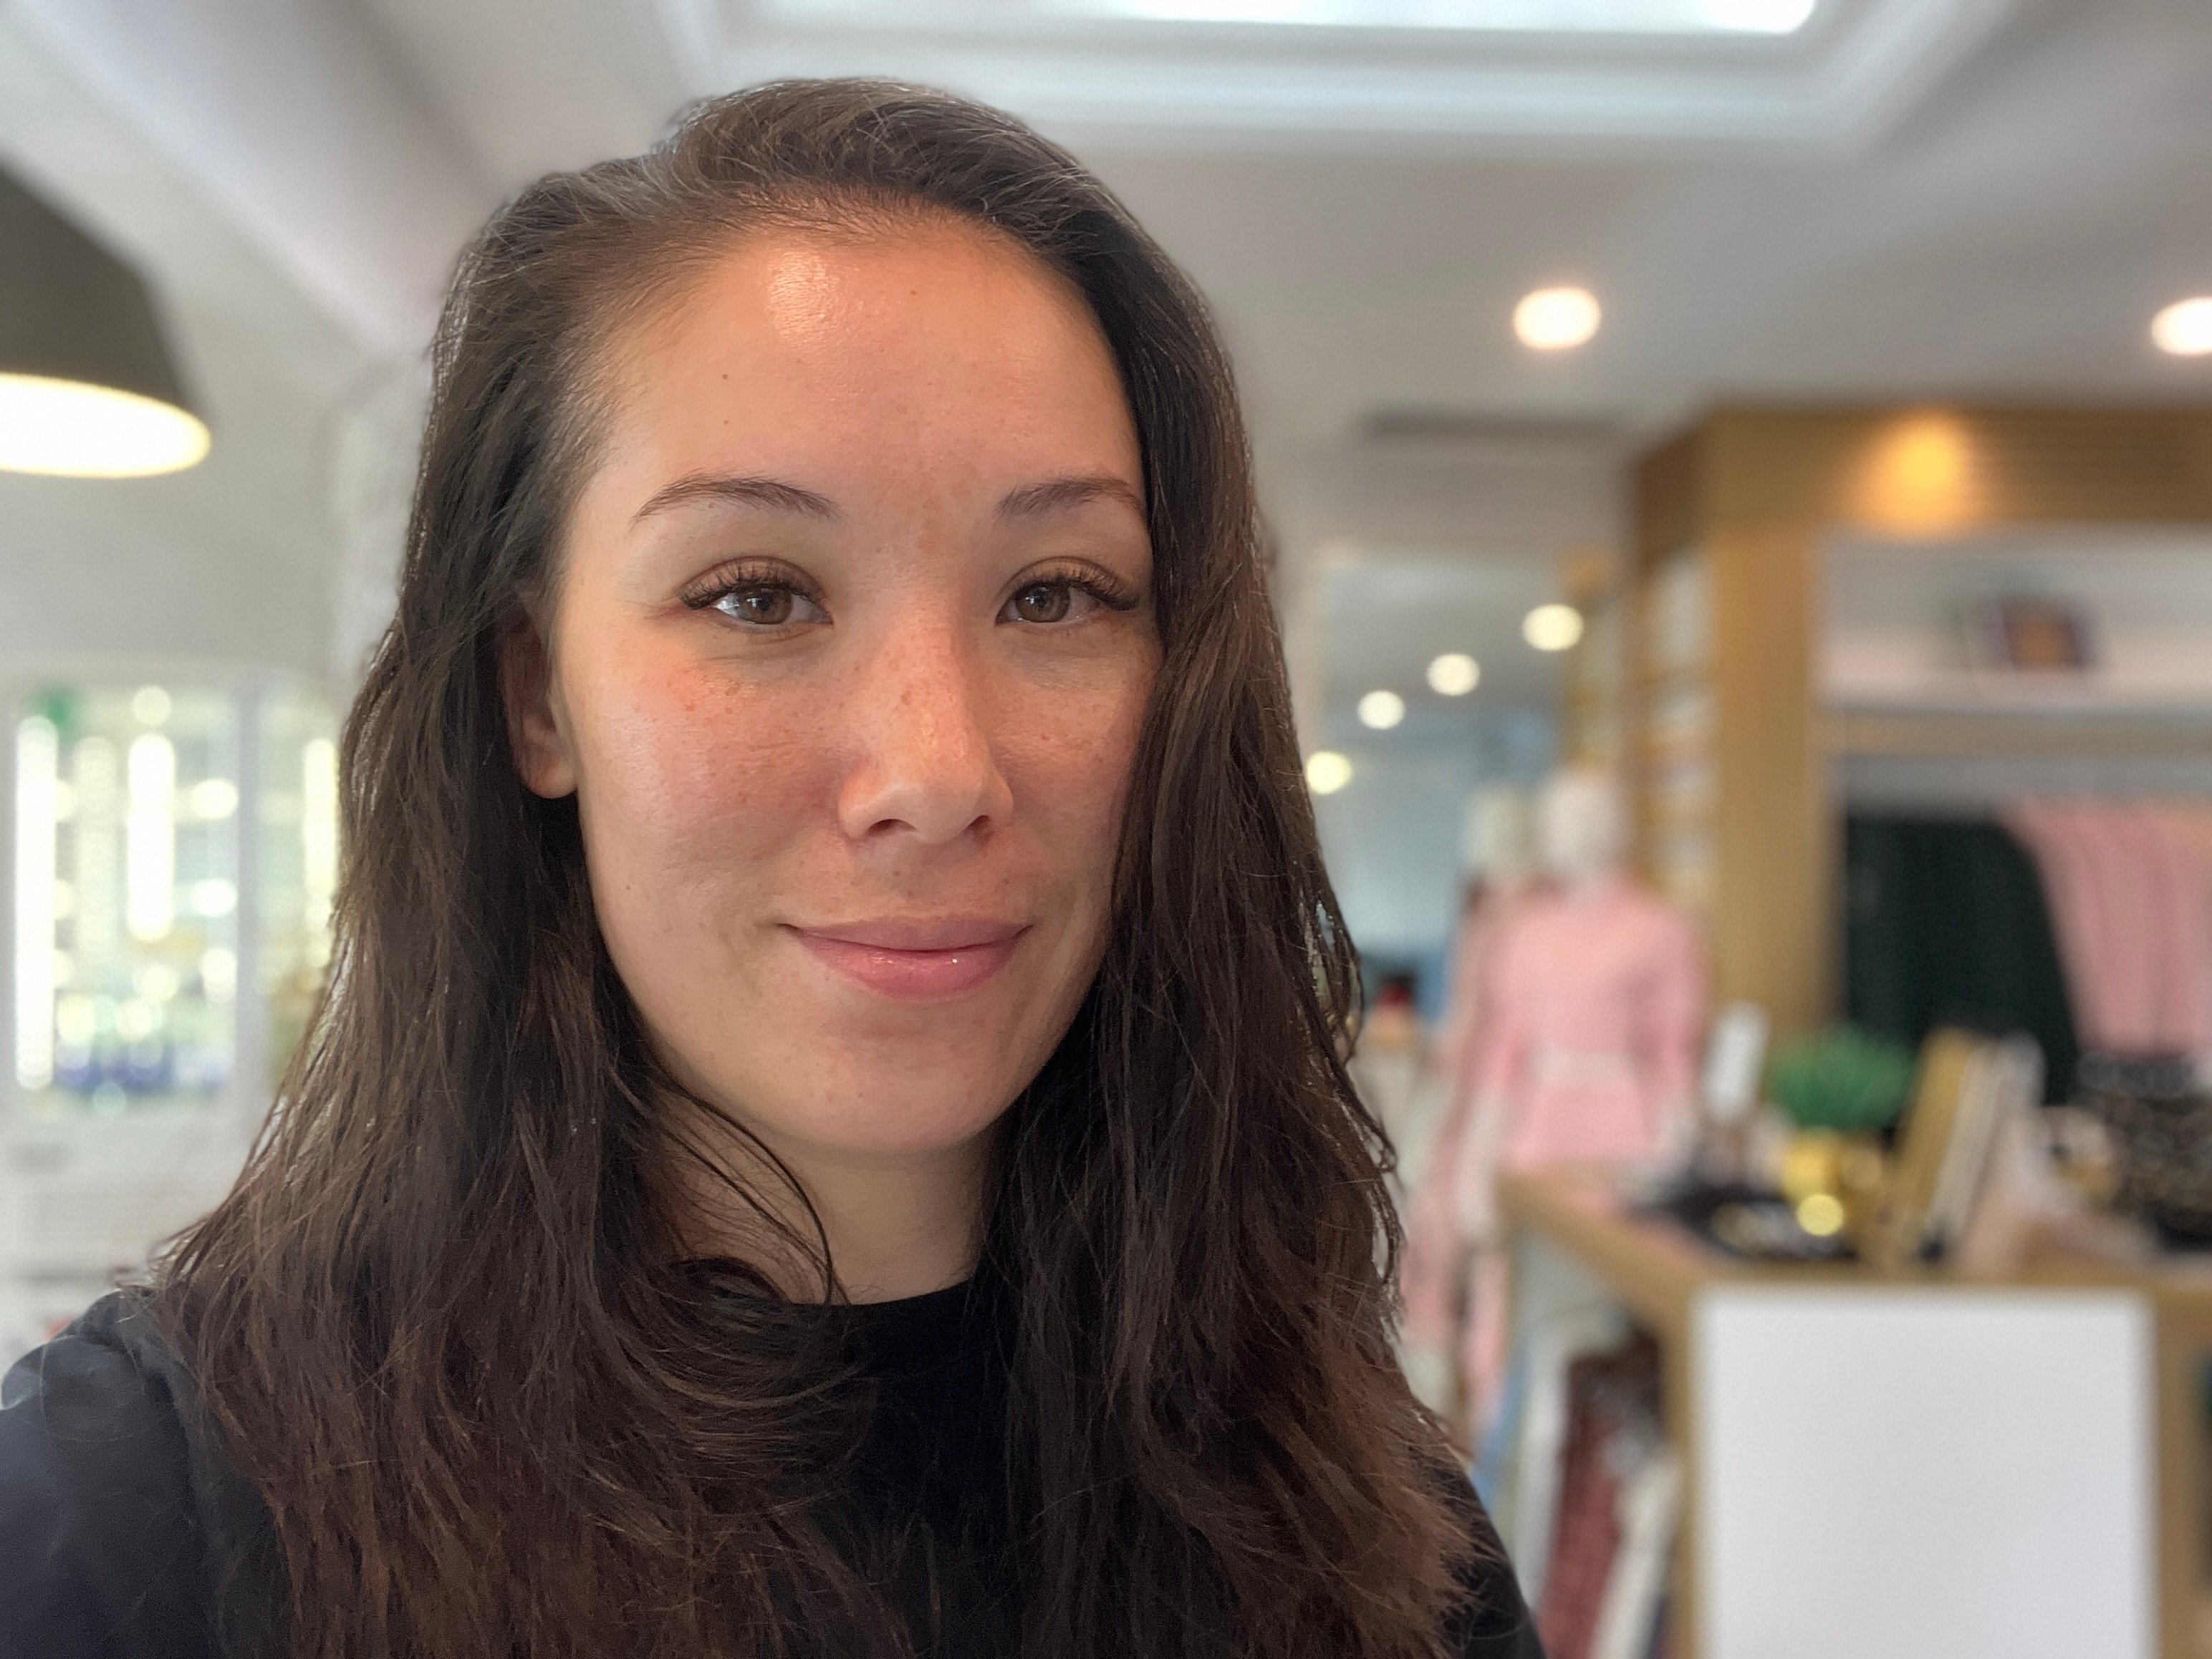
After my lash extensions. Photo: Courtesy of Kathryn Ross
I went with the natural option and was thrilled that most of my friends didn’t even realize I had lash extensions and thought I just had on really good mascara and liner. Additionally, while the regular appointments for refills initially felt like a commitment, once I found the right salon I ended up looking forward to them. A full set of lash extensions often ranges from $100 to 180, with refills costing between $60 and $90 depending on the style and how long you wait between refills.
DIY Lash Extensions review
The last lash enhancement I tried out was a DIY lash extension system. While there are a few options out there, my extensive research led me to Lash Theory, a women-owned, Toronto-based company. I chose them based on their ease of use for beginners like myself and their amazing customer service and support. It also doesn’t hurt that it’s a Canadian brand, making ordering and shipping much easier and more affordable than US-based alternatives.
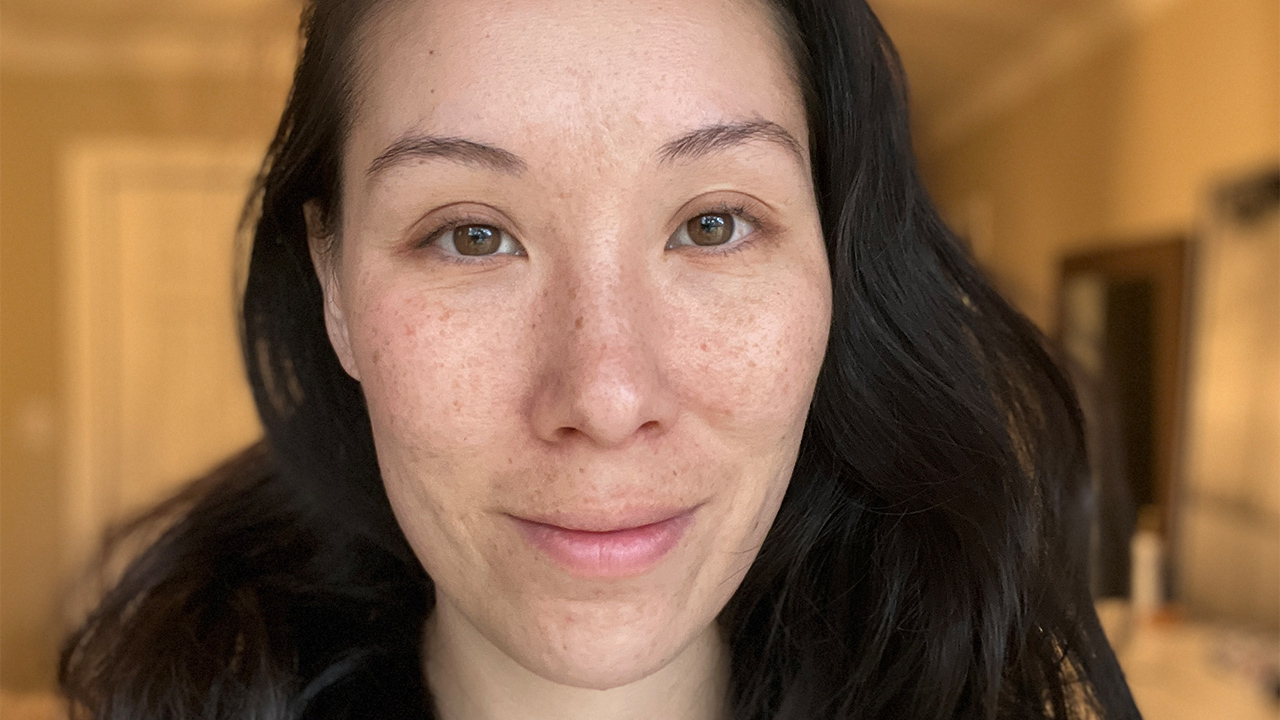
Before the DIY lash extensions. Photo: Courtesy of Kathryn Ross
DIY lash extensions are a great option for someone with sensitive eyes, like myself. I appreciated that I could put them on when my schedule allowed (once the kids were fast asleep), I could take them off when I wanted, and I couldn’t feel them on my eyes. Lash Theory also has a great easy-to-use starter kit for beginners and lashes that can be reused up to 3 times with proper care, making it a more affordable option.
If going for the DIY lash extension option, I would be mindful that it does take some practice, so give yourself a good hour or so on your first attempt. When applying the lashes for the first time, I spent an hour using a lash extension remover to take the lashes on and off my first eye until I got them just how I wanted. With practice, I was able to complete my second eye in less than 15 minutes. I’d also recommend having a magnifying mirror, good lighting and a nice seated spot to help with focus and precision.
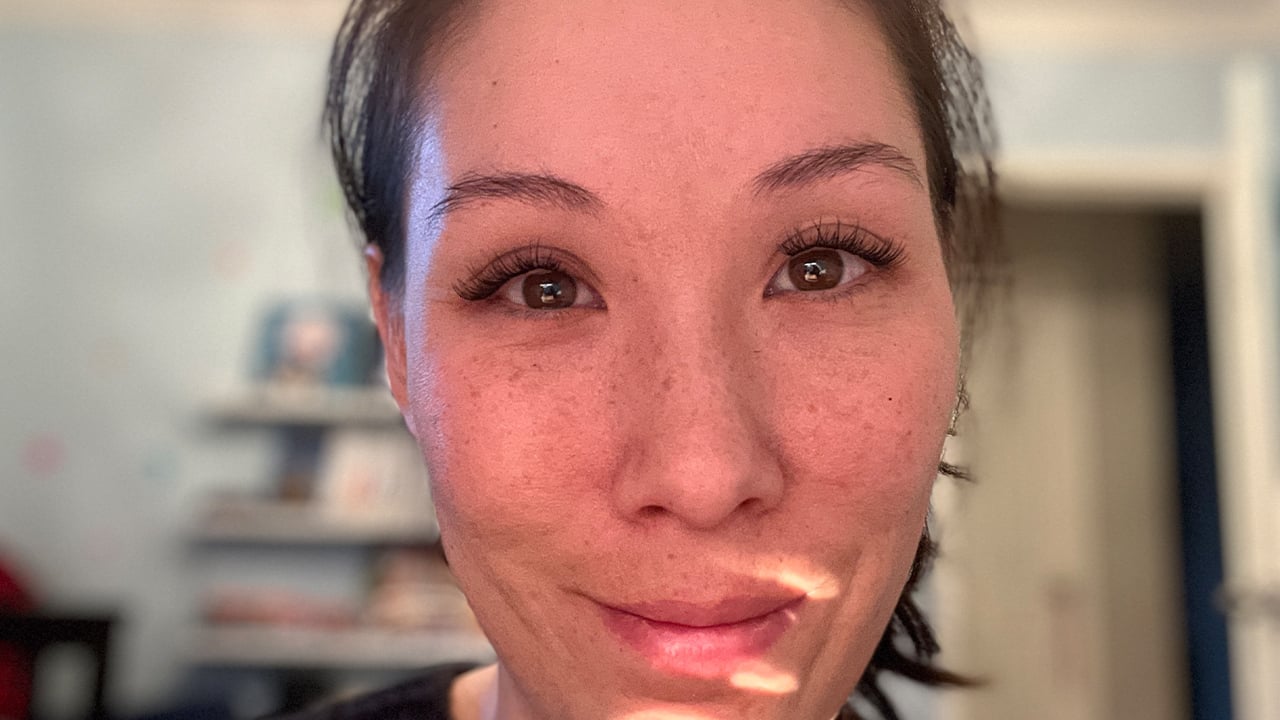
After the DIY lash extensions. Photo: Courtesy of Kathryn Ross
DIY lash extensions vary greatly in price, from $50 to $200, depending on the company. Lash Theory’s starter kit, which includes adhesive glue, 3 types of lashes (ten of each) and a fuse bond (a tool to help fuse the lashes in place), is $65. I also highly recommend getting the remover as this helped me take my time learning how to place the lashes—and also lets me take them off whenever I want without damaging my natural lashes.
Honourary mention: Lash Serum and castor oil
The one enhancement option I wasn’t able to try was lash serum, but many of my parent-friends swear by a vegan option called Revive7, a Canadian and female-founded company based in Montreal. You simply swipe it on once a day or use it in mascara form and it’s said to yield results in 7 to 28 days (you can see lots of before and after photos by googling). As a cheaper alternative, castor oil has also been widely recognized as a great product for eyelash and eyebrow growth. I personally have found great results with Riciniol, a Canadian company that offers high-purity hypoallergenic castor oil in easy-to-use and compact packaging.
When looking for a salon to get lash extensions or a lash lift (as they often offer both), I highly recommend considering three important factors. First, ensure that the salon has a variety of lash glue options for various eye sensitivities and offers a free patch test. This allows you to test the glue on your eyes with a few lashes to ensure that you don’t have an allergy. Secondly, find a spot that offers a consultation on the best lash look for your eyes, as styles and lengths vary greatly. Lastly, I highly recommend ensuring that your salon not only offers great service, but also a great experience.
I was able to find all three of my criteria at the female-owned Toronto salon Lash God, which looks more like a spa and felt like a mini vacation every time I went. They have rigid sanitization and technician training requirements, offer a free patch test, in-depth consultation, as well as a hand massage, food and beverages, and the most welcoming and cozy environment. In fact, it was so relaxing that each time I went for a refill, I fell asleep. A spa trip and a nap? Yes, please.
Final thoughts on lash treatments
My biggest discovery through this experiment was that I have sensitive eyes and, sadly, every type of professional lash extension glue was uncomfortable—which I’m told actually occurs in 5 to 10% of people. If this wasn’t the case, I definitely would have loved to continue with professional lash extensions. I found the lash lift and tint too natural for my taste since it didn’t come close to replacing makeup. I loved the DIY lash extension option, but it can be time-consuming to have to reapply them every 5-10 days (though for vacations and holidays I’ll probably give them another whirl). For now, I’ll be sticking to castor oil or lash serum.
But maybe I’ll still pretend I’m at the salon from time to time and treat myself (and my sensitive eyes) to a nap.

 PARENTING TIPS
 PREGNANCY
 BABY CARE
 TODDLERS
 TEENS
TEENS HEALTH CARE
 ACTIVITIES & CRAFTS